06 Jul 2023
I spent a little time recenly working out how to get Home Assistant complications working on my watch. Once you work out the inputs they want they seem to be really reliable, and they also function as a quick way to open the watch app to trigger actions and scenes.
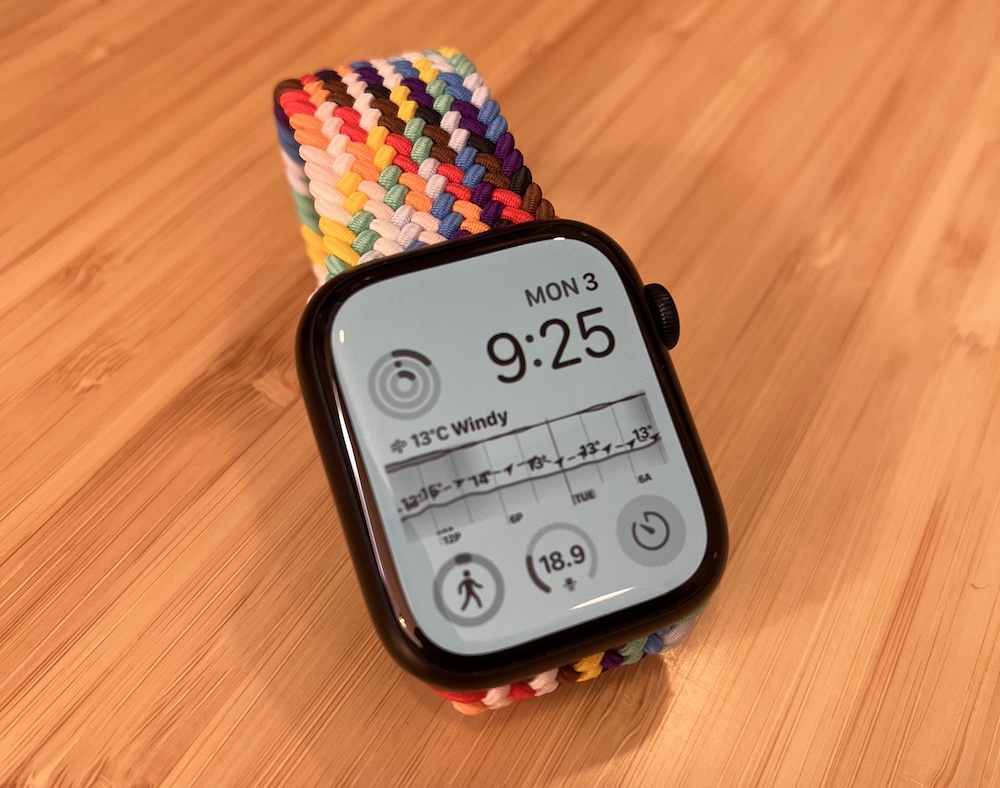
It’s important to pick the right complication for the watchface you are using. I used the “Graphic Circular” complication type, with the “Open Gauge Image” template. The Apple Developer Documentation has examples of all the different complication types and which watch faces support them.
Instead of trying to type in the Jinja2 templates on my phone, I found it was much easier to use the developer tools template editor inside Home Assistant. Once it’s working you can just copy and paste it into the mobile app.
We need to use template syntax to generate two values. The first is the sensor value. There is only just enough space for 3 digits, so I’ve rounded the value to 1 decimal place:
{{ states("sensor.office_temperature") | float | round(1) }}
The other value we need is a value between 0.0 and 1.0, representing the percentage that the gauge should be filled. Since I don’t know what the temperature range is going to be, I’m using max() and min() to ensure we always get a value between zero and 1, and that the gauge fills as we approach the target temperature.
{% set current = states("sensor.office_temperature") | float %}
{% set low = min(18.0, current) %}
{% set high = max(22.0, current) %}
{{ (current - low) / (high - low) }}
We also need to specify an icon - I used chair_rolling to match my office dashboard. It’s a bit small but you can more or less make it out.
02 Jun 2023
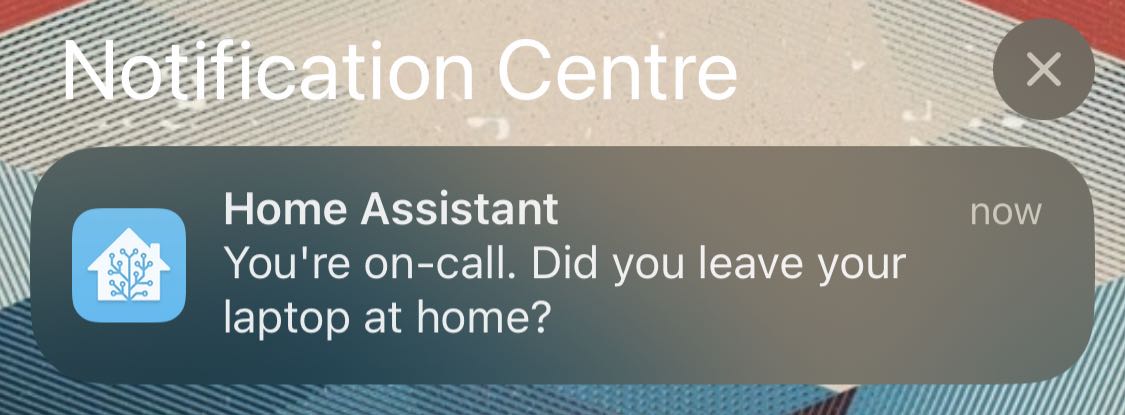
I thought it might be useful if Home Assistant knew when I was on call. I could use this to make sure the office doesn’t get too cold overnight, or to send me a notification if I leave home without my laptop.
We use PagerDuty, which gives you an iCal calendar feed, so I assumed I could just use this. Unfortunately while Home Assistant has integrations for Local Calendars and CalDAV, neither of these support just fetching a single .ics file over http.
After a bit of digging around I discovered that Home Assistant stores local calendars in the .storage folder alongside its config files, so I figured I can just overwrite this file manually using a shell_command. You need to create the calendar first (under Settings > Devices & Services > Add Integration > Local Calendar). Once it’s created, add an event to get Home Assistant to create the local calendar file.
The shell_command goes into configuration.yaml:
shell_command:
  update_on_call_calendar: 'curl https://pagerduty.com/path/to/calendar > /config/.storage/local_calendar.on_call.ics'
We can then use the shell command in an automation, followed by homeassistant.reload_config_entry to get Home Assistant to reload the file from disk. I have this running on an hourly time_pattern trigger, but you could increase the update frequency for a calendar that changes more regularly.
alias: Refresh On Call Calendar
description: ""
trigger:
  - platform: time_pattern
    minutes: "0"
condition: []
action:
  - service: shell_command.update_on_call_calendar
    data: {}
  - service: homeassistant.reload_config_entry
    target:
      entity_id: calendar.on_call
    data: {}
mode: single
Once the calendar has updated you should see events show up in Home Assistant. The calendar state can be used in automations:
alias: On Call Laptop Check
description: "Send a push notification if I leave my laptop at home when I'm on call"
trigger:
  - platform: state
    entity_id:
      - person.tom_henderson
    to: not_home
condition:
  - condition: and
    conditions:
      - condition: state
        entity_id: calendar.on_call
        state: "on"
      - condition: device
        device_id: <device_id>
        domain: device_tracker
        entity_id: device_tracker.toms_m2
        type: is_home
action:
  - device_id: <device_id>
    domain: mobile_app
    type: notify
    message: You're on-call. Did you leave your laptop at home?
mode: single
08 May 2023
I picked up this neat little Zigbee knob on AliExpress to use as a volume control for Sonos. It seems pretty well made, with a strong magnet on the back to attach it to its little mounting plate (or anything else it’ll stick to) and it was easy enough to connect to Zigbee2MQTT.
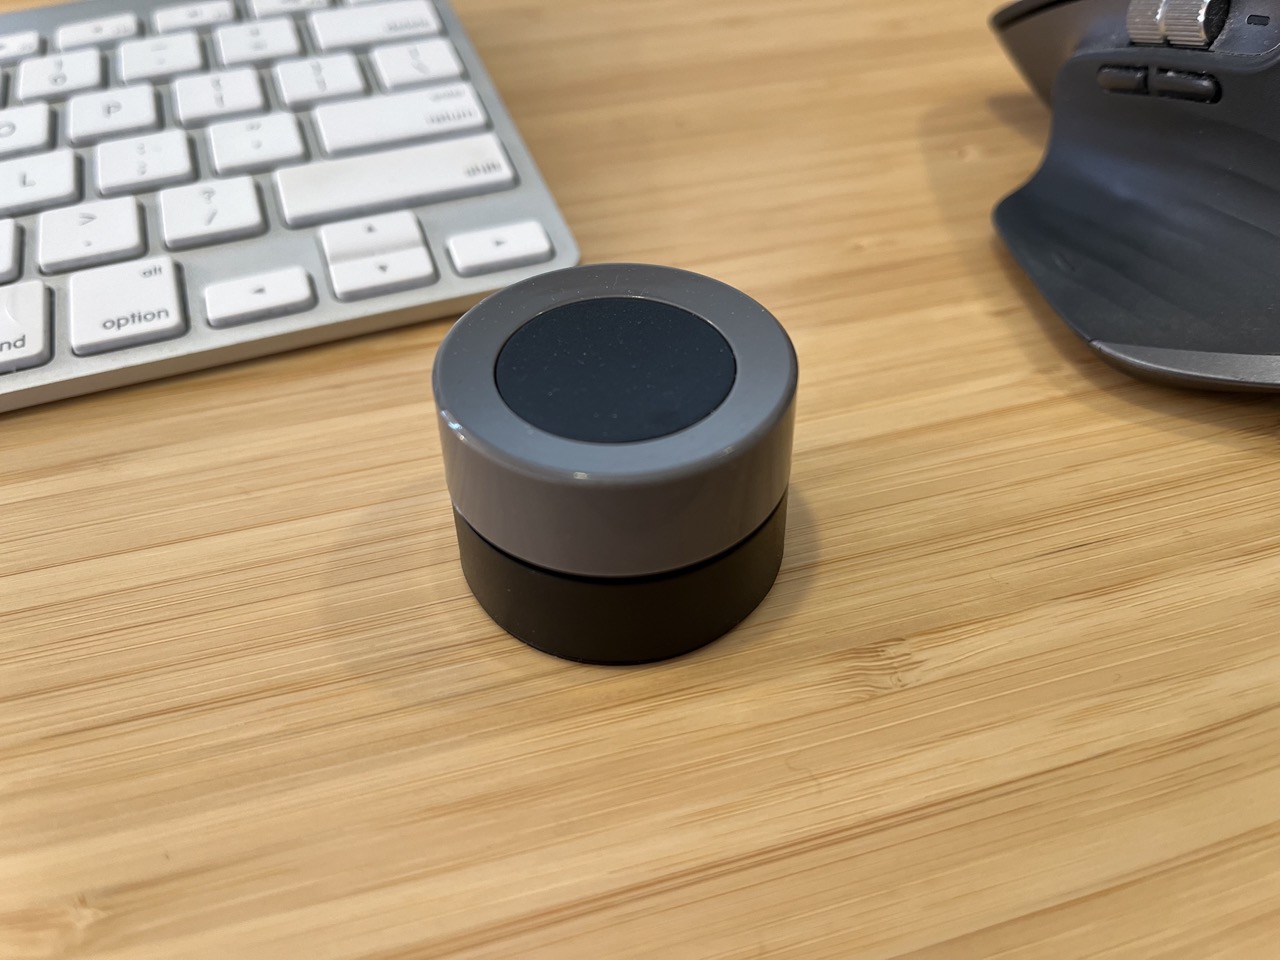
Smart Home Scene has a detailed review with more photos and a tear down of the internals.
The only minor gotcha is the need to disable legacy mode for the knob in Zigbee2MQTT, which alters the MQTT payload to send action triggers.
  '0x00123456789abcde':
    friendly_name: 'office-smart-knob'
    legacy: false
To control Sonos I’ve set up three automations in Home Assistant: rotate right / left for volume up and down, and single press to select the line in source. For the volume automations I added a condition to check that the Office Sonos is actually playing, to avoid being deafened after using it as a fidget toy when nothing is playing.
Volume Up / Down Automation
alias: Office Volume Up
trigger:
  - platform: device
    domain: mqtt
    device_id: <knob device id>
    type: action
    subtype: rotate_right
    discovery_id: 0x00123456789abcde action_rotate_right
condition:
  - condition: device
    device_id: <sonos device id>
    domain: media_player
    entity_id: media_player.office
    type: is_playing
action:
  - service: media_player.volume_up
    data: {}
    target:
      device_id: <sonos device id>
mode: single
Source Selection Automation
alias: Office Source to Line-in
trigger:
  - platform: device
    domain: mqtt
    device_id: <knob device id>
    type: action
    subtype: single
    discovery_id: 0x00123456789abcde action_single
condition: []
action:
  - service: media_player.select_source
    data:
      source: Line-in
    target:
      device_id: <sonos device id>
mode: single
03 May 2023
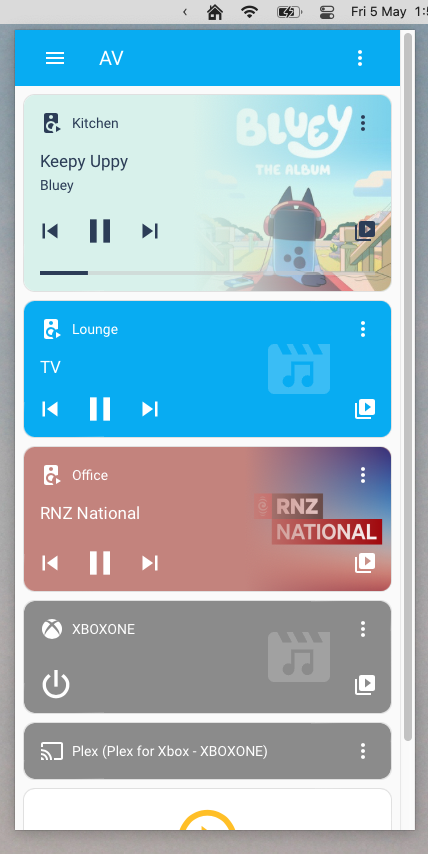
We have a Sonos setup at home which I love. In my office I have a Sonos Port connected to my turntable and some powered speakers. I’ve been tinkering with Home Assistant recently, and the Sonos integration works really well, so I decided to build a little menu bar app to pull up my AV dashboard.
Hammerspoon is a great little swiss-army tool for macOS which I already use for various shortcuts and automations. This is what I came up with, using just an hs.menubar with no menu items, and an hs.webview positioned below it to mimic a menu. It seems to work pretty well.
local obj = {}
obj.__index = obj

-- Metadata
obj.name = "Home"

obj.window = hs.webview.new({x=100, y=100, w=400, h=800})
	:url("https://homassistant.local")
    :allowNewWindows(false)
	:allowTextEntry(true)
    :shadow(true)

obj.menu = hs.menubar.new()
	:setTitle("Home")

obj.menu:setClickCallback(function()
    local menuframe = obj.menu:frame()
    local windowframe = obj.window:frame()

    local x = menuframe.x - (windowframe.w / 2) + (menuframe.w / 2)

    obj.window:frame({x=x, y=30, w=400, h=800})

    if obj.window:isVisible() then
        obj.window:hide()
    else
        obj.window:show()
            :windowCallback(function(action, webview, hasFocus)
                if action == "focusChange" and not hasFocus then
                    obj.window:hide()
                end
            end)
            :bringToFront(true)
    end
end)

return obj
14 Nov 2022
In a next-gen Jira project with a backlog, new tasks go onto the backlog by default. This seems like a decent default, since it keeps the board more or less clear of new tasks until you’re ready to start working on them. What’s always bothered me is that issues don’t move onto the board when they transition into ‘In Progress’.
Where this starts to get silly is when you start using the Slack shortcut to create and transition issues. I can create an issue from a Slack message, assign it to myself, transition to In Progress, and then transition to Done, all from Slack. Great! Except the issue is still stuck on the backlog!
I had assumed that I could fix this with an automation action, and it turns out you can, in a fairly round-about way. Since there’s no built in automation action that can move a issue to a board, we need to call the rest API instead, which we can do with the Send web request action.

Find your board’s ID from its URL: if your board is at /jira/software/projects/ABC/boards/123 then your board ID is 123, and the URL to use in the action will be /rest/agile/1.0/board/123/issue.
You’ll also need to provide a Authorization header for the request, using the API token of a user with permission to move issues to your board. You can generate it with echo "Basic $(echo -n "me@example.com:API-TOKEN" | base64)".
You can use whatever trigger you like for this - I settled on: Issue transitions from Committed to In Progress and Issue Description contains 'Issue created in Slack'.