Home Assistant Apple Watch Complications
06 Jul 2023I spent a little time recenly working out how to get Home Assistant complications working on my watch. Once you work out the inputs they want they seem to be really reliable, and they also function as a quick way to open the watch app to trigger actions and scenes.
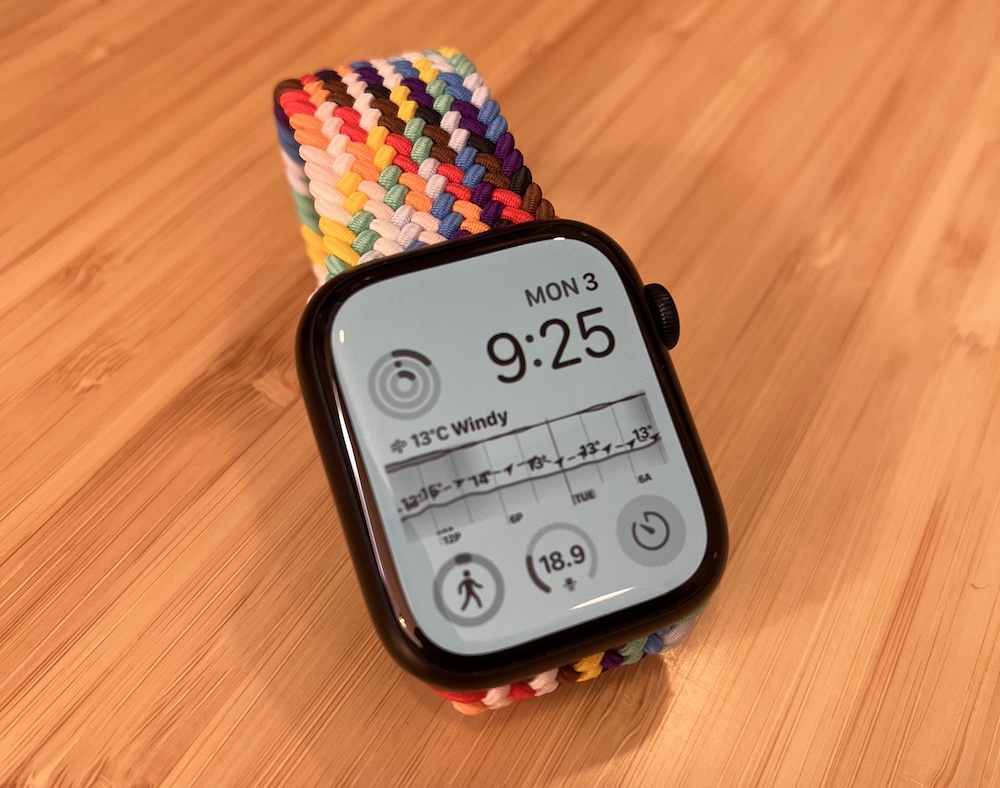
It’s important to pick the right complication for the watchface you are using. I used the “Graphic Circular” complication type, with the “Open Gauge Image” template. The Apple Developer Documentation has examples of all the different complication types and which watch faces support them.
Instead of trying to type in the Jinja2 templates on my phone, I found it was much easier to use the developer tools template editor inside Home Assistant. Once it’s working you can just copy and paste it into the mobile app.
We need to use template syntax to generate two values. The first is the sensor value. There is only just enough space for 3 digits, so I’ve rounded the value to 1 decimal place:
{{ states("sensor.office_temperature") | float | round(1) }}
The other value we need is a value between 0.0 and 1.0, representing the percentage that the gauge should be filled. Since I don’t know what the temperature range is going to be, I’m using max() and min() to ensure we always get a value between zero and 1, and that the gauge fills as we approach the target temperature.
{% set current = states("sensor.office_temperature") | float %}
{% set low = min(18.0, current) %}
{% set high = max(22.0, current) %}
{{ (current - low) / (high - low) }}
We also need to specify an icon - I used chair_rolling to match my office dashboard. It’s a bit small but you can more or less make it out.