30 Jun 2016
Dynamic DNS
Setting up VPN remote access on the EdgeRouter is a pretty straightforward, but without a static IP address we won’t be able to connect back home if the external IP changes. To get around this we can use a dynamic DNS provider like noip.com and have the EdgeRouter update the IP if it changes. After setting up an account and a new dynamic hostname, we can configure the router with:
Now that we have a DNS name we can set up the PPTP VPN.
First we enable the PPTP VPN using local authentication. This handy because I don’t yet have a RADIUS server to use for authentication. We specify an address pool to hand out to VPN clients, and a DNS server for them to use.
Since I’m using the router as my DNS server I also need to listen for DNS forwarding on that IP, otherwise it won’t respond to DNS requests from the VPN client IP pool.
Finally we need to set up firewall rules that wil allow the PPTP and GRE traffic to reach the router.
10 Feb 2016
I needed a small tweak to my EdgeRouter config to let me connect to my bridged VDSL modem. The EdgeRouter is connected to the modem on eth0.
The modem uses 192.168.1.254/24 by default, so the first step is to give eth0 an IP on the same network. Then we need a NAT masquerade rule to NAT traffic for the 192.168.1.0/24 network through eth0.
After applying the changes I can now browse to the admin interface of the modem.
07 Feb 2016
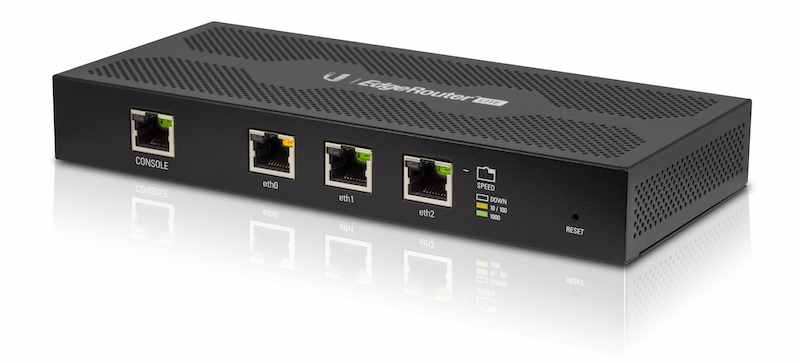
As part of a project to build a home lab for testing, I’m upgrading my home network. My first addition is an Ubiquiti EdgeRouter Lite.

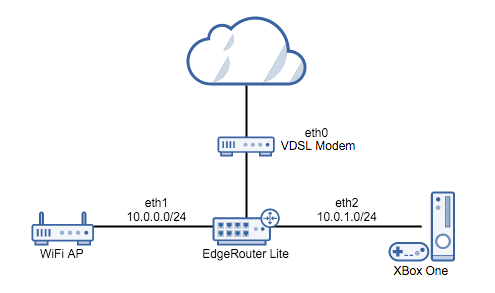
I have the ERL connected to my VDSL modem (bridged) on eth0, and to my Netgear AP on eth1. I will be creating a DHCP LAN on each of eth1 and eth2, and setting up a pppoe interface on eth0 to connect to the Internet. Eth1 will be connected to my existing wireless router, and eth2 will be connected to my XBox.

Fortunately, after upgrading the firmware to version 1.8 almost all of this can be done using the setup wizard. The only remaining settings I need to adjust are to set up a couple of DHCP reservations and port forwarding rules to keep Plex and Transmission working on my server.
Initial impressions are great. The setup took about an hour, including the time it took to hook everything up and to download and install the firmware update. The router has a console management port for when I inevitably wreck the config or lock myself out of the network, SSH admin console, and the web GUI seems to cover almost all day to day tasks.
The final config looks like this.
05 Jun 2015
It took me a while to find this so it seems worth posting here.
Once you have a signed certificate file we need to create a p12 keystore file. In my case the certificate was from Go Daddy and there’s an intermediate certificate (gd_bundle-g2-g1.crt) that needs to be included.
openssl pkcs12 -export -in example.crt \
-inkey example.key \
-out example.p12 \
-name unifi \
-certfile gd_bundle-g2-g1.crt
At the prompt enter the password aircontrolenterprise.
We can then import example.p12 into the Unifi keystore:
sudo keytool -importkeystore \
-deststorepass aircontrolenterprise \
-destkeypass aircontrolenterprise \
-destkeystore /usr/lib/unifi/data/keystore \
-srckeystore example.p12 \
-srcstoretype PKCS12 \
-srcstorepass aircontrolenterprise \
-alias unifi
And restart the controller with service unifi restart.
12 May 2015
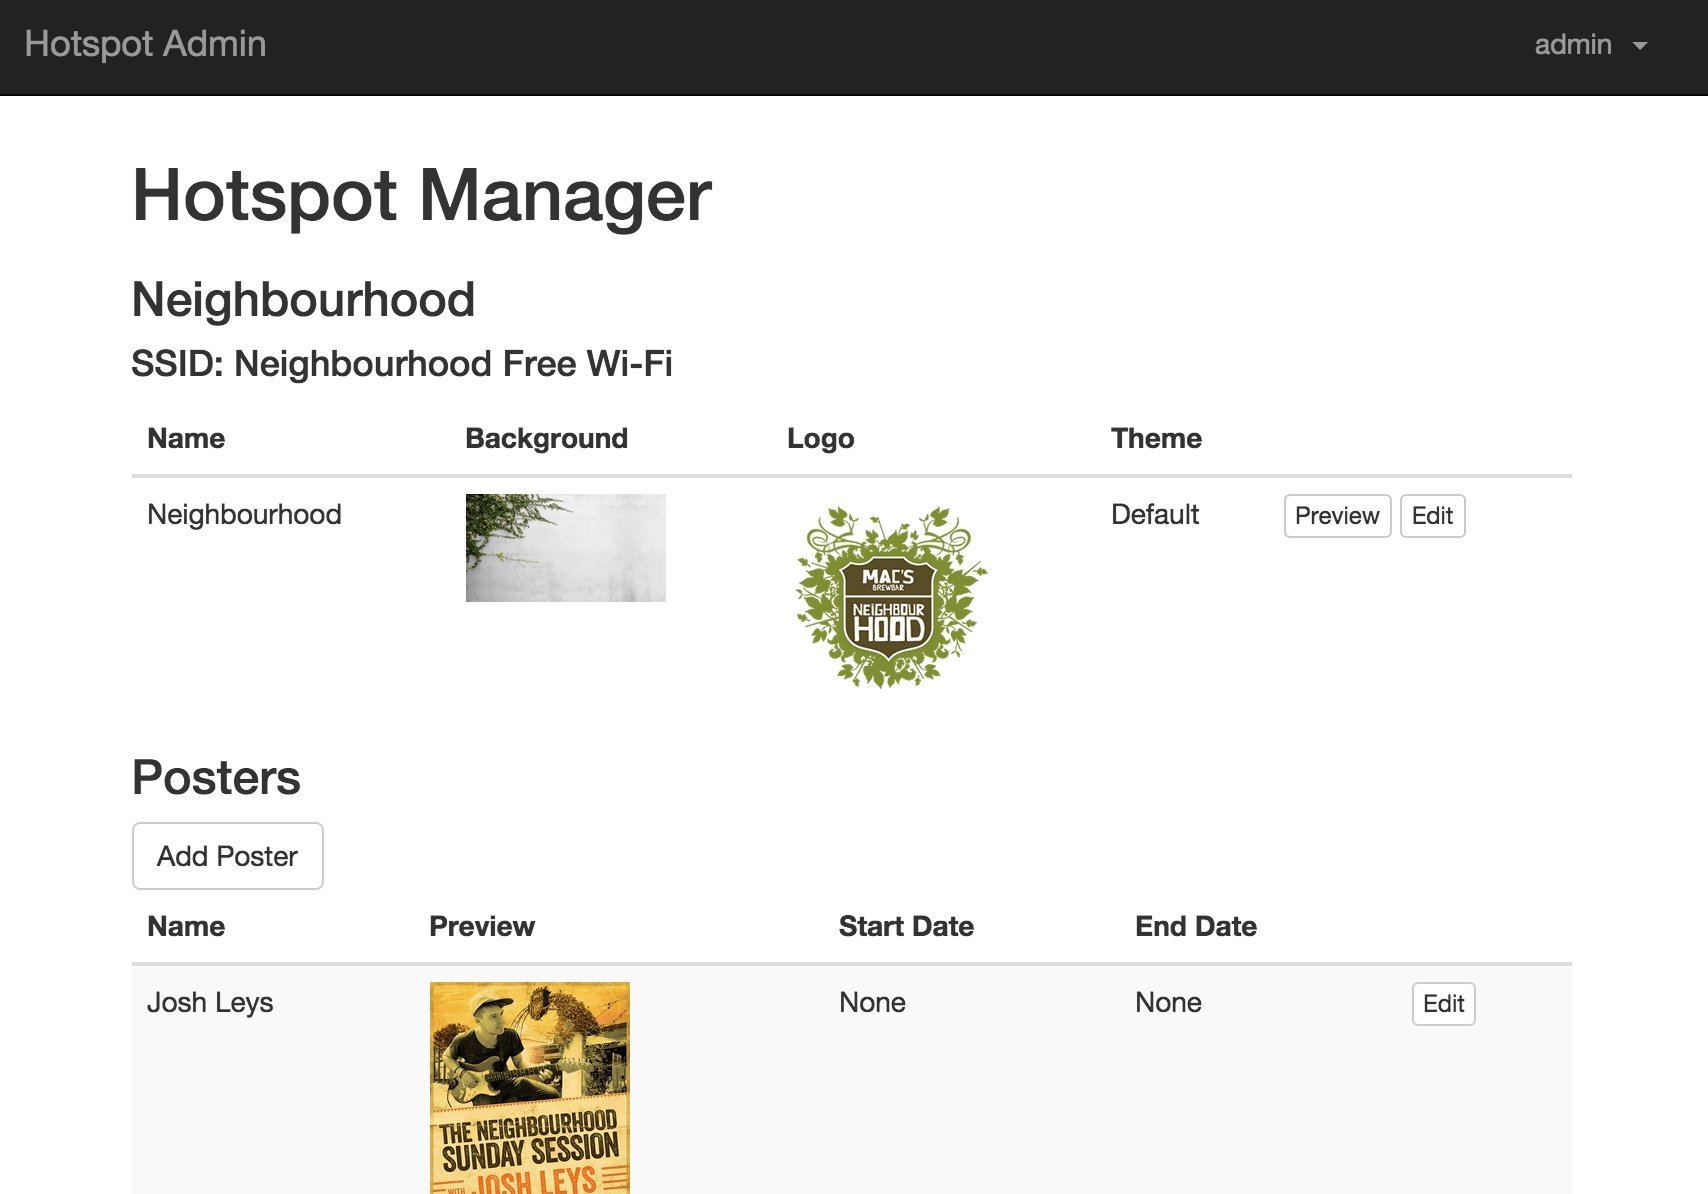
Unifi WiFi can be configured to use a custom portal for the Guest network. As part of a large rollout of Ubiquiti access points, I built a custom guest portal in Django that would allow us to customise the appearance of the guest authentication page to match the brand of each of our locations.


When an unauthenticated guest connects to a wireless network with the guest policy enabled, http requests are redirected to the custom portal. When the form is submitted, Django validates the password, and then uses the Unifi API to authorize the guest’s MAC address.


